Bubbles Under Clear Vial Labels: Separate Appearance, Surface and Application
A visible patch does not identify its cause
The clear label looked clean in the flat artwork. On the vial, a patch in the transparent area attracts attention. Before replacing the design with white stock or asking for stronger adhesive, establish what is actually visible and when it first appeared.
I would compare an identified flat specimen with the applied label, distinguish a discrete raised-looking pocket from diffuse texture and review the actual surface and application conditions. The useful decision is which part of the proposal needs further assessment: construction, container, handling or the visual brief.
This is a procurement and sample-review method. It does not diagnose a real package from a photograph or promise that a particular cleaning, smoothing or material change removes every bubble.
Separate transparency from attachment and shape
Clear film allows more of the container and interface to remain visible. A visual feature that is inconspicuous behind an opaque panel may be noticeable in an exposed transparent area. That does not make the feature automatically acceptable, nor does it prove that attachment has failed.
Avery’s bubbling-label guidance lists several possible contributors, including application, surface condition or coating, size and the visibility of adhesive or bubbles through clear stock on dark surfaces. These are reasons to investigate more than one explanation. Its product guidance does not establish which construction RP Labels offers or what caused a particular vial observation.
The clear-versus-white design guide addresses opacity and what remains readable against the bottle. This article concerns a different approval: whether the visible under-film appearance meets the intended package and what evidence is needed before changing it.
Record when and where the patch appears
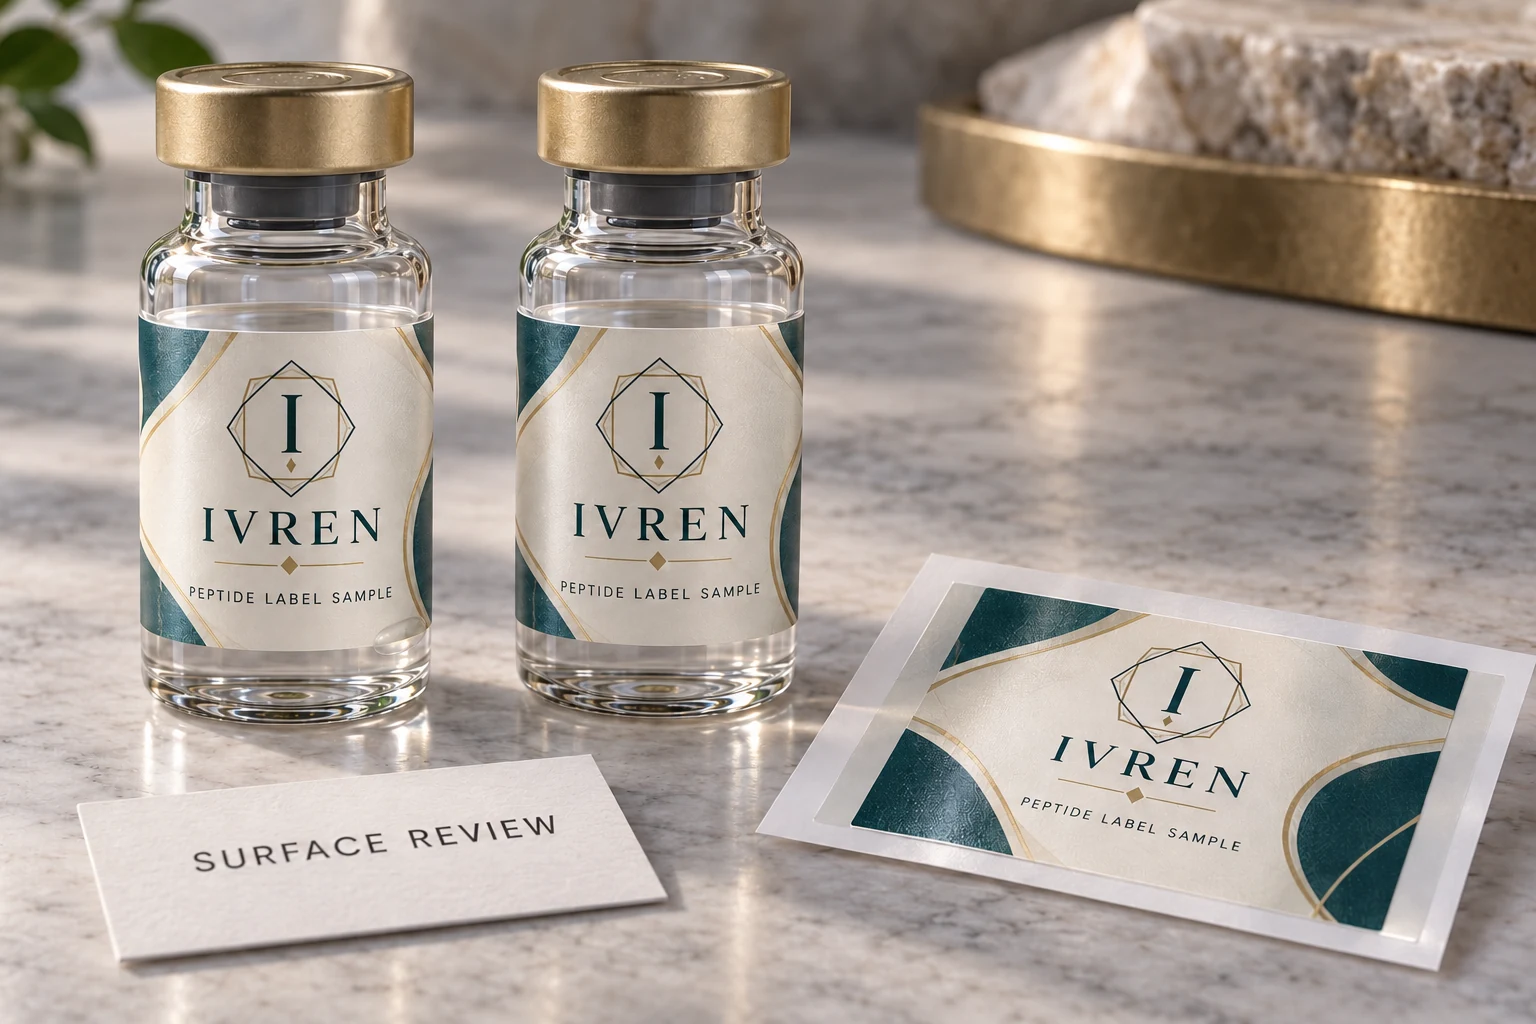
The small border pocket is an illustrative feature to locate, not an actual complaint or evidence of its cause. The reference and loose specimen help explain why the construction, surface and application stages need separate review.
Identify the construction, artwork revision and actual vial reference. Look at the loose specimen before application without treating it as a substitute for the applied package. Record whether the visual concern is present there, appears during application or is noticed later. Keep those observations distinct.
Describe the affected area: isolated pockets, a diffuse textured appearance, wrinkles, an edge feature or a broad optical change. A photograph should include both a close view and enough context to identify its position. Do not label every cloudy area trapped air before someone competent has assessed it.
| Observation to record | Useful comparison | What remains open |
|---|---|---|
| Feature visible in loose stock | Identified flat specimen and proposed construction | Whether the concern is part of the supplied construction |
| Feature appears during application | Actual vial and appropriate handling record | Whether placement, surface or another factor contributes |
| Diffuse visibility in clear areas | Same-view reference on the intended surface | Whether the visual brief or construction needs review |
| Shape-related folds | Actual labeling zone and proposed contour | Whether geometry needs attention before material choice |
| Later change | Identified time and relevant known conditions | Cause and appropriate assessment, not an assumed failure |
Keep the observation tied to a specific specimen. Two vials called glass can differ in coating or surface finish. A comparison using an unrelated smooth reference may help raise a surface question, but it does not prove that the intended coated or textured vial will behave identically.
Ask for appropriate application evidence
Obtain the supplier’s suitable application guidance for the candidate and the packer’s actual workflow. Record known surface preparation and conditions without adopting a generic solvent recipe. Preparation must be appropriate for the container, product responsibilities and operating procedure.
Use representative components and avoid changing everything simultaneously. If the trial changes vial finish, face material, adhesive and application method together, the result may identify a useful package without isolating what caused the earlier appearance. Note that limit instead of presenting the comparison as a controlled diagnosis.
If the proposed geometry cannot follow the labeling area without folds, revisit fit. The tapered-vial guide addresses when a rectangular starting shape is questionable. No amount of attractive transparent artwork proves that a label fits a changing surface.
Decide which alternative deserves another sample
A suitable handling or surface-preparation review may be appropriate when the observation depends on how the specimen is applied. That does not authorize puncturing a bubble, forcing a tool across a vial or applying an unapproved substance. Ask the responsible team what assessment and disposition are appropriate for the actual package.
A different available construction may deserve consideration where the identified surface and visual requirement remain incompatible with the proposal. Request a complete construction reference and relevant specimen, not merely a label called extra clear. Confirm availability and suitability rather than inferring them from another supplier’s material description.
An opaque or partly opaque layout can also be a fair visual alternative if it meets the brand’s reading and presentation task. It should not be used to hide an unresolved attachment or application concern. Review what is changing and what still needs evidence after the appearance is less revealing.
Two illustrative samples lead to different decisions
Imagine a brand reviewing clear film on a polished dark vial. It notices a discrete feature after one application attempt. The buyer should preserve that specimen, identify the method and compare appropriate representative applications before condemning all clear-label stock or changing the artwork’s opacity.
Now imagine a brand using a textured or coated vial whose transparent border consistently presents an unwanted visual texture in the available samples. The useful discussion may concern the complete construction and realistic appearance expectation on that surface. A flawless mock-up on smooth glass does not resolve the intended package.
These are illustrative sample situations, not actual RP Labels complaints. A further counterexample is an appearance the brand intentionally accepts on the real vial, with the relevant application needs separately satisfied. Chasing an invisible edge under exaggerated inspection may not justify redesign if it is unrelated to the agreed presentation task.
Questions about clear-label appearance
Does a bubble mean the adhesive is too weak?
Not by itself. Preserve the specimen and assess its construction, actual surface, fit and application conditions. A visible patch does not establish one adhesive-strength explanation.
Will white stock solve the problem?
It may change visibility and design, but it does not automatically resolve attachment, surface or geometry. Treat opacity as a visual choice and retain the relevant application review.
Can an AI bottle picture approve a no-label look?
No. It can communicate design direction and where to inspect. The intended surface and representative finished construction must answer the real appearance question.
What should I submit for review?
For custom vial labels, send the actual vial surface or coating details, construction reference, when the feature appears, application method, same-view photographs and quantity per design through the printing inquiry form. Describe the observation before naming its cause and ask what representative comparison can resolve the open question.