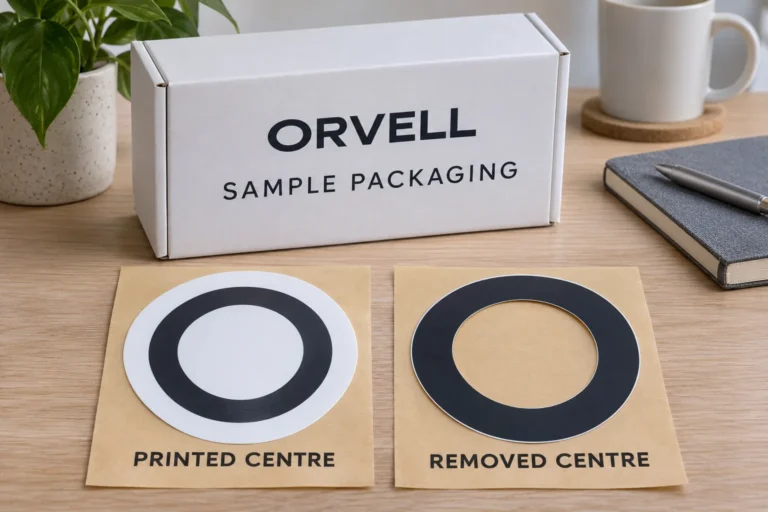
Do Holographic Label Patterns Need to Align Across a Packaging Set?
When two packages sit side by side in a gift set or a shelf display, start by deciding whether their holographic labels need to read as one design. If a stripe or sweep is meant to continue in the same direction across both faces, approve the direction on a pair of assembled packs before ordering. If the effect is simply a background accent, consider allowing the direction to vary or choosing a sample with less obvious alignment. A looser requirement can give the printer and packer more room to use their normal layout and application process.
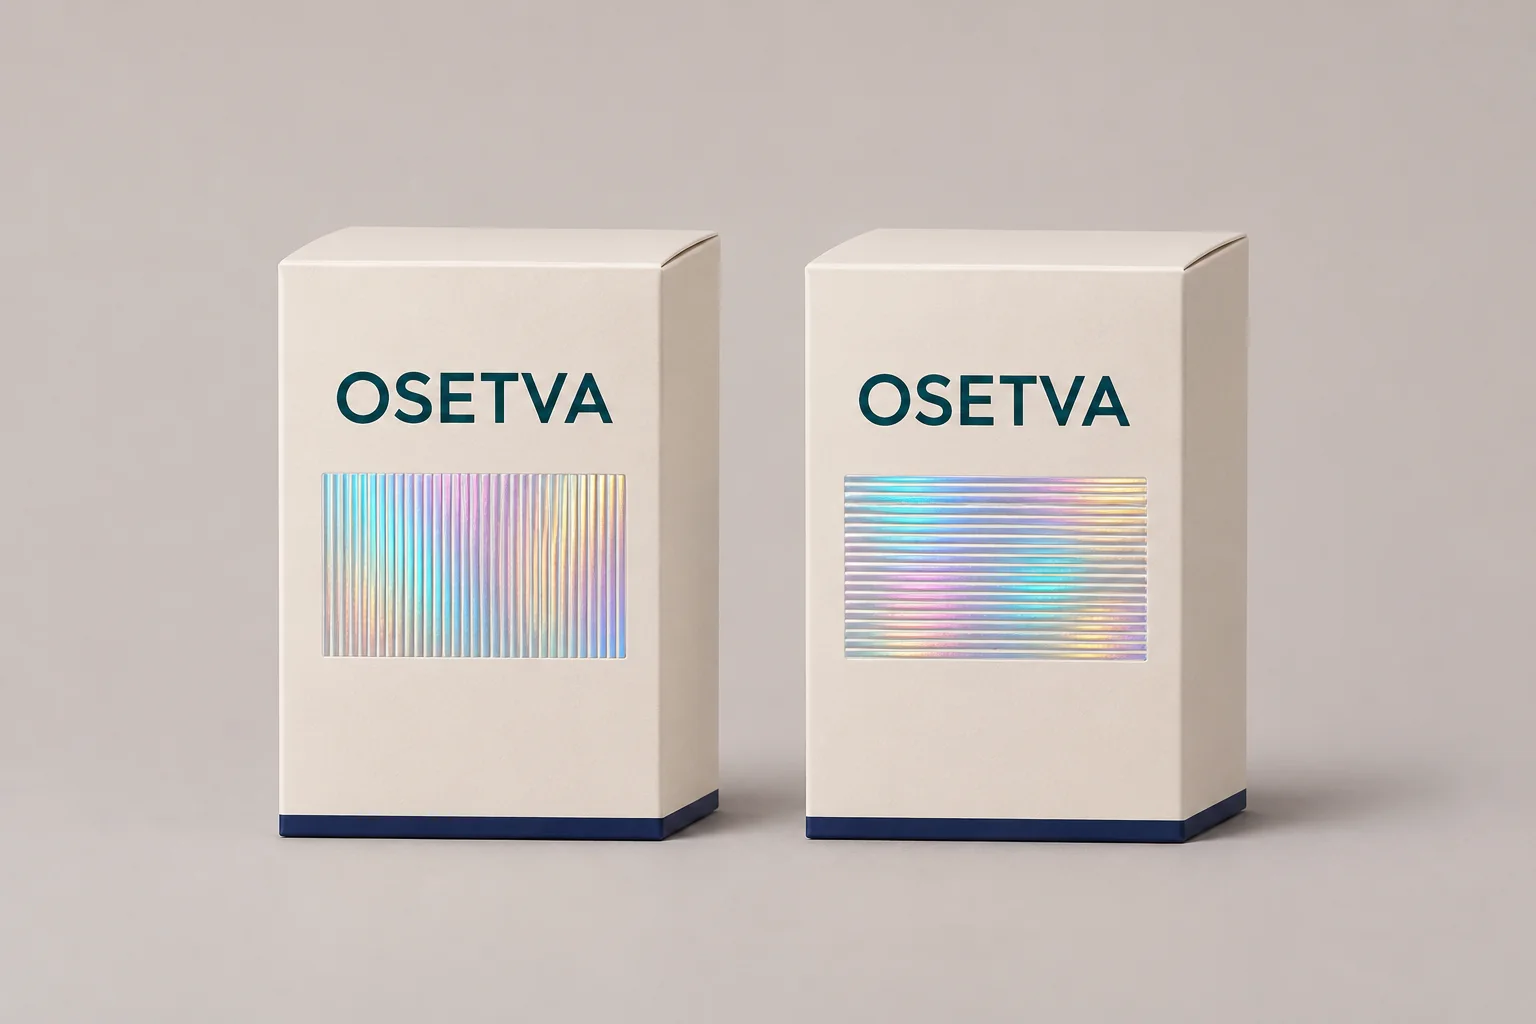
Make the decision with the packages in their intended display positions. The same badge can sit at the right height on both boxes while the optical pattern turns across one of them. A good buying brief lists where the label goes, how the logo reads and which direction the visible pattern follows. Each is a separate check.
Decide what the customer needs to see together
Lay out the packs as a shopper will meet them. A two carton set arranged upright in one tray invites a direct comparison. Individually sold packs may still appear in a tidy row, or they may be viewed alone and handled independently. Ask the brand reviewer to name the visible difference that would matter. A practical requirement sounds like “the streaks on both labels run toward the top edge when both cartons stand upright.” “Match our hologram” leaves the actual judgement open.
A finished label has at least two visual references: the printed artwork and the optical effect. The artwork may have a clear top because it contains text, while the selected optical pattern follows its own axis. K Laser’s pattern application examples describe a specific directional light effect and a project that deliberately angled the pattern relative to the artwork. That gives a buyer an example of a relationship worth specifying. Ask the converter to identify the actual material and feasible layout for your order.
Even a round badge can have a direction. Begin with the filled package drawing and put an arrow next to the edge you will call top. If a brand name appears on the badge, mark its reading direction too. A pack can have more than one upright position during handling, so choose the one the appearance approval is meant to protect.
Give the printer and packer separate checks
Put the intended optical direction and placement on the same two-pack drawing. Use package edges or another visible landmark the operator can recognize. Keep setup terms such as roll unwind and the visual direction relative to the package in separate fields. The way a roll dispenses may be essential to application, but the actual question here is what the eye sees once the label is on the pack.
| If the packages need to show | What to approve |
|---|---|
| Both fronts with the same visible pattern axis | Mark the required axis relative to the top of each pack. Confirm the converter’s layout and apply a pair from the proposed supply. Hold the order if one still appears turned in the intended view. |
| Different directions as part of a deliberate paired design | Draw an arrow for each pack and retain both references. Agree how the two delivered variants will be identified at the application station. |
| A shared look with variable orientation | Compare real samples in the positions shoppers will see. Record the range the reviewer accepts and retain at least one acceptable pair. |
| A consistent badge with no strong directional effect | Ask for an available sample with a less prominent axis. Review the pair before settling the artwork, material and quote. |
The converter should confirm any required angle relative to the print and cut layout. The packer should confirm how the label will be oriented on each actual package. Compare the offered workflow with any extra layout restriction, separate variant or orientation step the brief would require. Ask what that adds to the quotation or sample scope before treating it as part of the supply.
Do not infer the way the whole order will look from two carefully hand placed samples if the real line will handle circular labels or packs differently. Review a pair assembled using the proposed method when placement orientation is a condition of release. If the packer cannot reproduce the intended direction, adjust the artwork, choose a less directional material, or accept a broader visual range and document that change.
Review the pair in the intended light
Use both finished pack faces and apply identified specimens of the offered construction. Place the pair where you can see it together in the intended layout. Record the light position and where you stood. Look at both packages at the same time from the initial position, then move through the views that matter for the intended display. Repeat after exchanging the positions of the packs. If the appearance follows a particular position, examine the lighting. If it follows the package, check the sample and its application orientation.
Keep a straight front photo showing how the labels sit and a second photo or brief video showing the relevant light effect. Treat those recordings as references for the result the reviewer saw in person. The photograph cannot guarantee identical reflection from every angle. Where the actual pair is unavailable, a drawing can approve the intended axes and rough placement while the physical appearance remains open.
Record the material reference, artwork revisions, pack face, application method and reviewer on one approval record. Write what you would accept if a future pair looks a little different. Some buyers only need both labels to run generally upright. Others need the two visible motifs to line up relative to printed artwork. If a specific motif also has to sit in a specific part of the badge, define that separately with the supplier. The guide to stock effects and custom optical images explains how to scope that additional requirement.
Request a sample pair you can compare
Start with custom holographic labels and choose the finish you want to investigate. Then request a quote for an applied sample pair with a photo or sketch of the two pack fronts, the proposed label size, your desired pattern directions and quantities per design. State whether matching is required and who applies the labels. Ask which material and sample format can be offered so your reviewer can resolve that decision before the production order.