Custom Pressure-Sensitive Labels: Prevent Edge Lift on Curved Bottles
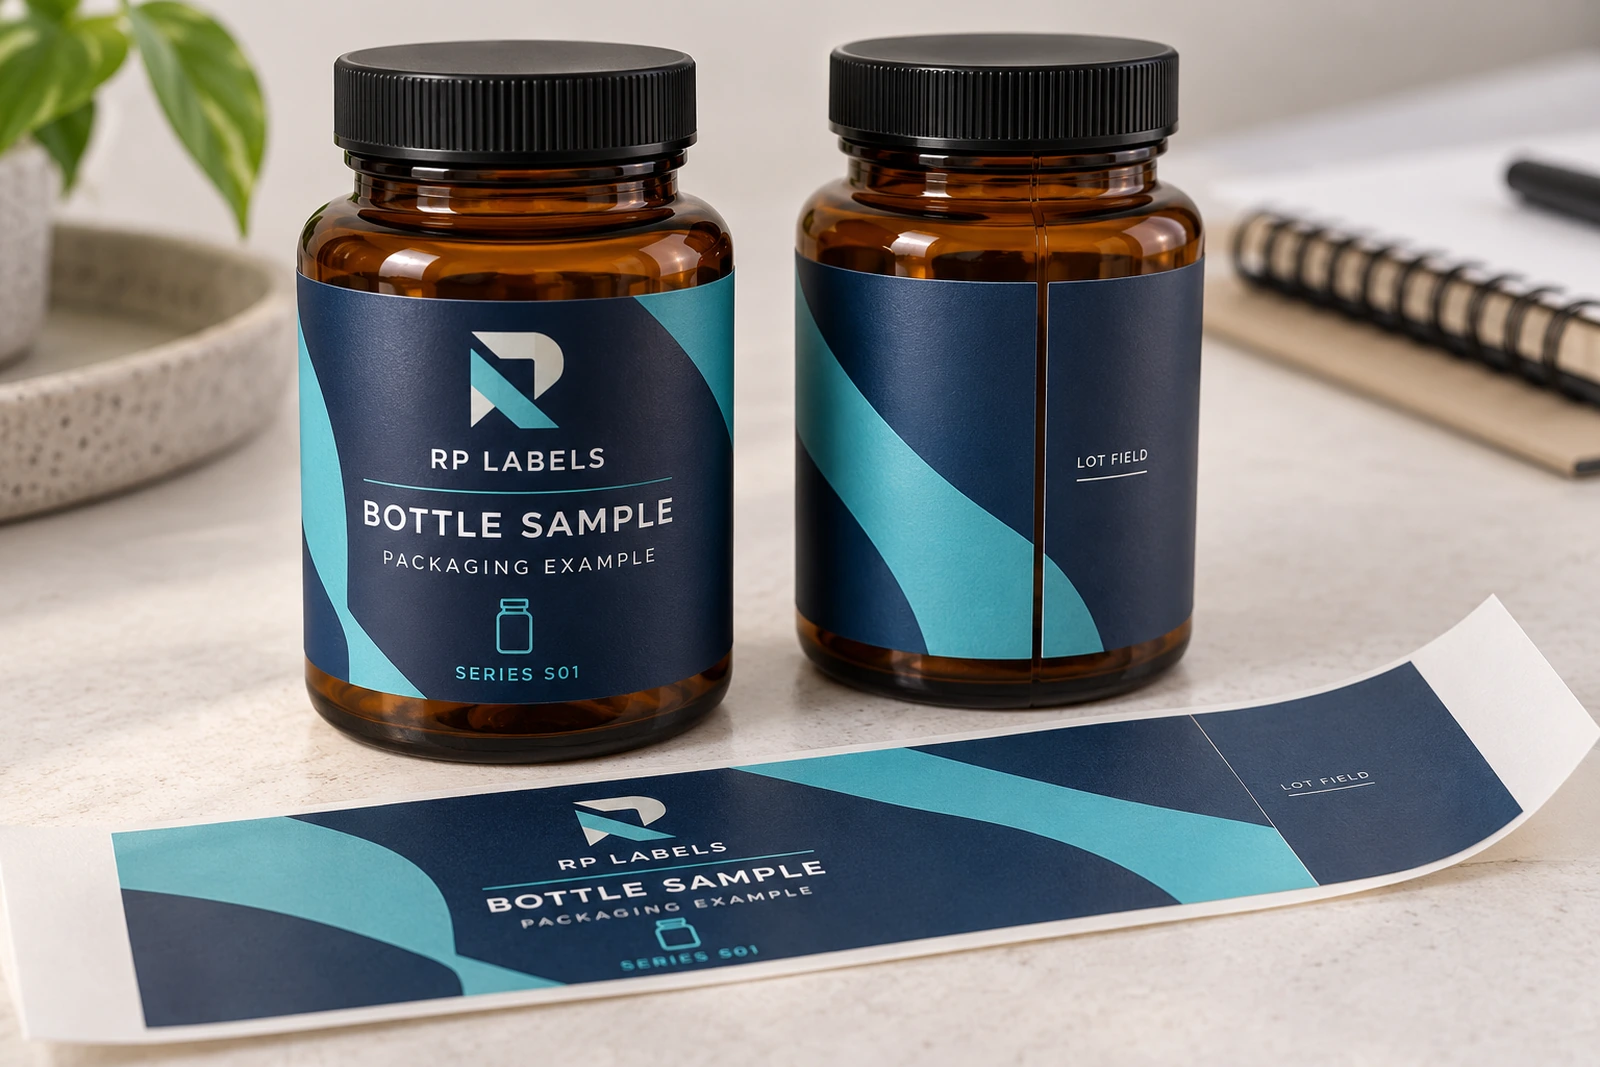
A bottle leaves the packing table looking fine. Later, the label edge starts to lift. The immediate request is often for stronger glue. That might be part of the answer, but it can also miss the cause: the face material resists bending, the label crosses a curved shoulder, or the application process never gave the edge adequate contact.
When buying custom pressure-sensitive labels, I would review the container, label construction and application method together. A supplier cannot make a useful recommendation from a photo of the raised corner alone. Give the conditions that produced it, then agree what a representative sample needs to demonstrate before approving the next run.
Treat edge lift as a system question
A pressure-sensitive label combines face material, printed layers or finish, adhesive and release liner. Once it is applied, the container and application process join that system. A thicker-looking finish may help the design feel substantial while making the label less willing to follow a small curve. An attractive construction is not automatically the appropriate one for every bottle radius.
Avery Dennison’s Wine Handbook describes several contributors to label lift, including material, design, environment and application. Its examples concern wine packaging, so use them to understand the mechanisms, not to prescribe a material for a supplement bottle. The point for procurement is to ask about more than adhesive strength.
First, confirm the real labeling area
Look for the straight-sided zone rather than the bottle’s full height. A label that reaches the shoulder or rounded base has a different fitting problem from one that stays on the cylindrical section. Check ribs, molded details and taper as well. A flat rectangular mock-up can reveal a geometry problem before you pay to investigate a print finish.
Record the bottle diameter or circumference, usable height and intended seam treatment. A nearly complete wrap and a smaller front panel put different demands on the construction. Avoid extending the artwork simply because there is room in the file. Use our label size calculator as a starting point, then verify fit on an actual container.
Second, identify the surface and its condition
Tell the supplier whether the bottle is glass or a specific plastic, and identify any coating or surface treatment you know about. Explain whether containers arrive clean and dry, how they are handled before labeling, and whether moisture or residue may be present. Do not assume all containers described as plastic have the same labeling behavior.
Application conditions and later storage conditions are separate inputs. A bottle labeled dry at one temperature and later moved into a cooler environment is a different brief from a bottle labeled while damp or cold. Report what actually happens in your process. Avoid replacing those details with a general request for waterproof labels.
Third, review the face material and finish
Ask whether the proposed construction is suitable for the container’s curve and the intended application. Compare representative samples rather than deciding solely from thickness or a material nickname. The complete printed label matters: coatings, print coverage and finishing can affect how it behaves, so an unprinted stock sample may not represent every feature of the final construction.
Keep appearance and performance requirements explicit. If a premium finish is important, explain why and where it is used. The supplier may propose a different construction or a smaller finished label. Review that tradeoff on the bottle before rejecting it because the flat design looked more dramatic.
Fourth, review how the label is applied
Pressure-sensitive describes a label that needs appropriate contact during application; it does not mean the adhesive makes every process issue disappear. Ask how the leading edge, main panel and trailing edge receive pressure. When machine labeling is involved, the packer should review the relevant equipment settings and supplier guidance.
Avery Dennison’s Z3338 technical overview illustrates how application pressure matters for that particular adhesive and glass-bottle process. It is not an RP Labels adhesive recommendation or a universal temperature instruction. Use it as a reminder to obtain the guidance for the actual construction being offered.
Two hypothetical buyers should not get the same shortcut
Imagine an illustrative small seller hand-labeling a short run of smooth amber bottles. The seller notices corners lift where the label meets the rounded base. Moving the label into the straight-sided zone and checking the proposed construction may be more useful than paying immediately for a stronger adhesive. The geometry deserves attention first.
Now imagine a hypothetical contract packer applying labels at a steady machine rate. The bottle fit looks correct, but the raised edge appears after application. The review should include the container condition, label construction and equipment contact process. A slower trial with representative material may reveal a handling issue; changing the glue without investigating could leave the same interruption in production.
A counterexample is a label that fits well and receives suitable application contact but still fails under the agreed storage conditions. In that case, material and adhesive selection deserve closer review. The lesson is to gather enough information to distinguish causes, not to assume the cheapest correction always works.
Agree a sample review that reflects the order
Apply representative labels to the intended container using the planned method. Record material reference, finish, dimensions, container type and the conditions reviewed. Assess the result at agreed intervals and after the relevant handling or storage exposure. The supplier and buyer should define the review; this article does not set a universal laboratory test or acceptance threshold.
Take clear photos of the edges and note when a change first appears. Retain an accepted sample and its construction record. If the bottle supplier, face material, finish or process later changes, decide whether a renewed check is needed. A repeat artwork file does not make those changes disappear.
Common questions about curved-bottle labels
Does edge lift always mean the adhesive is weak?
No. Fit, stiffness, surface condition, environment and application can contribute. Provide the complete construction and process details so the supplier can help identify what should be reviewed next.
Will waterproof face material stop edge lift?
Face-material moisture resistance does not prove the complete label will adhere under your conditions. The adhesive, container and process still need to be considered together, with a representative sample review.
Should I make the label smaller?
It may help when the existing size reaches unsuitable curves or places unnecessary bending demand on the construction. Check the available information area and sample the revised dimensions instead of reducing size without a layout review.
What should I send with a problem photo?
Include the bottle material and dimensions, label specification, application method, observed conditions and when the edge started lifting. A photo shows the symptom; those details help explain the purchasing and process decision.
Order a construction that fits your process
Review our material and finish options, then send RP Labels a curved-bottle label enquiry with the container photo, dimensions, quantity and application conditions. Ask for the proposed construction and sample plan before releasing production. The sensible saving is fewer unusable labeled bottles, not a lower price for an unspecified roll.